Every blog like this starts off with a post about setting up the equipment. This is that post. Basically, I’m following the instructions given here. I won’t be saying anything new unless I manage to screw up.
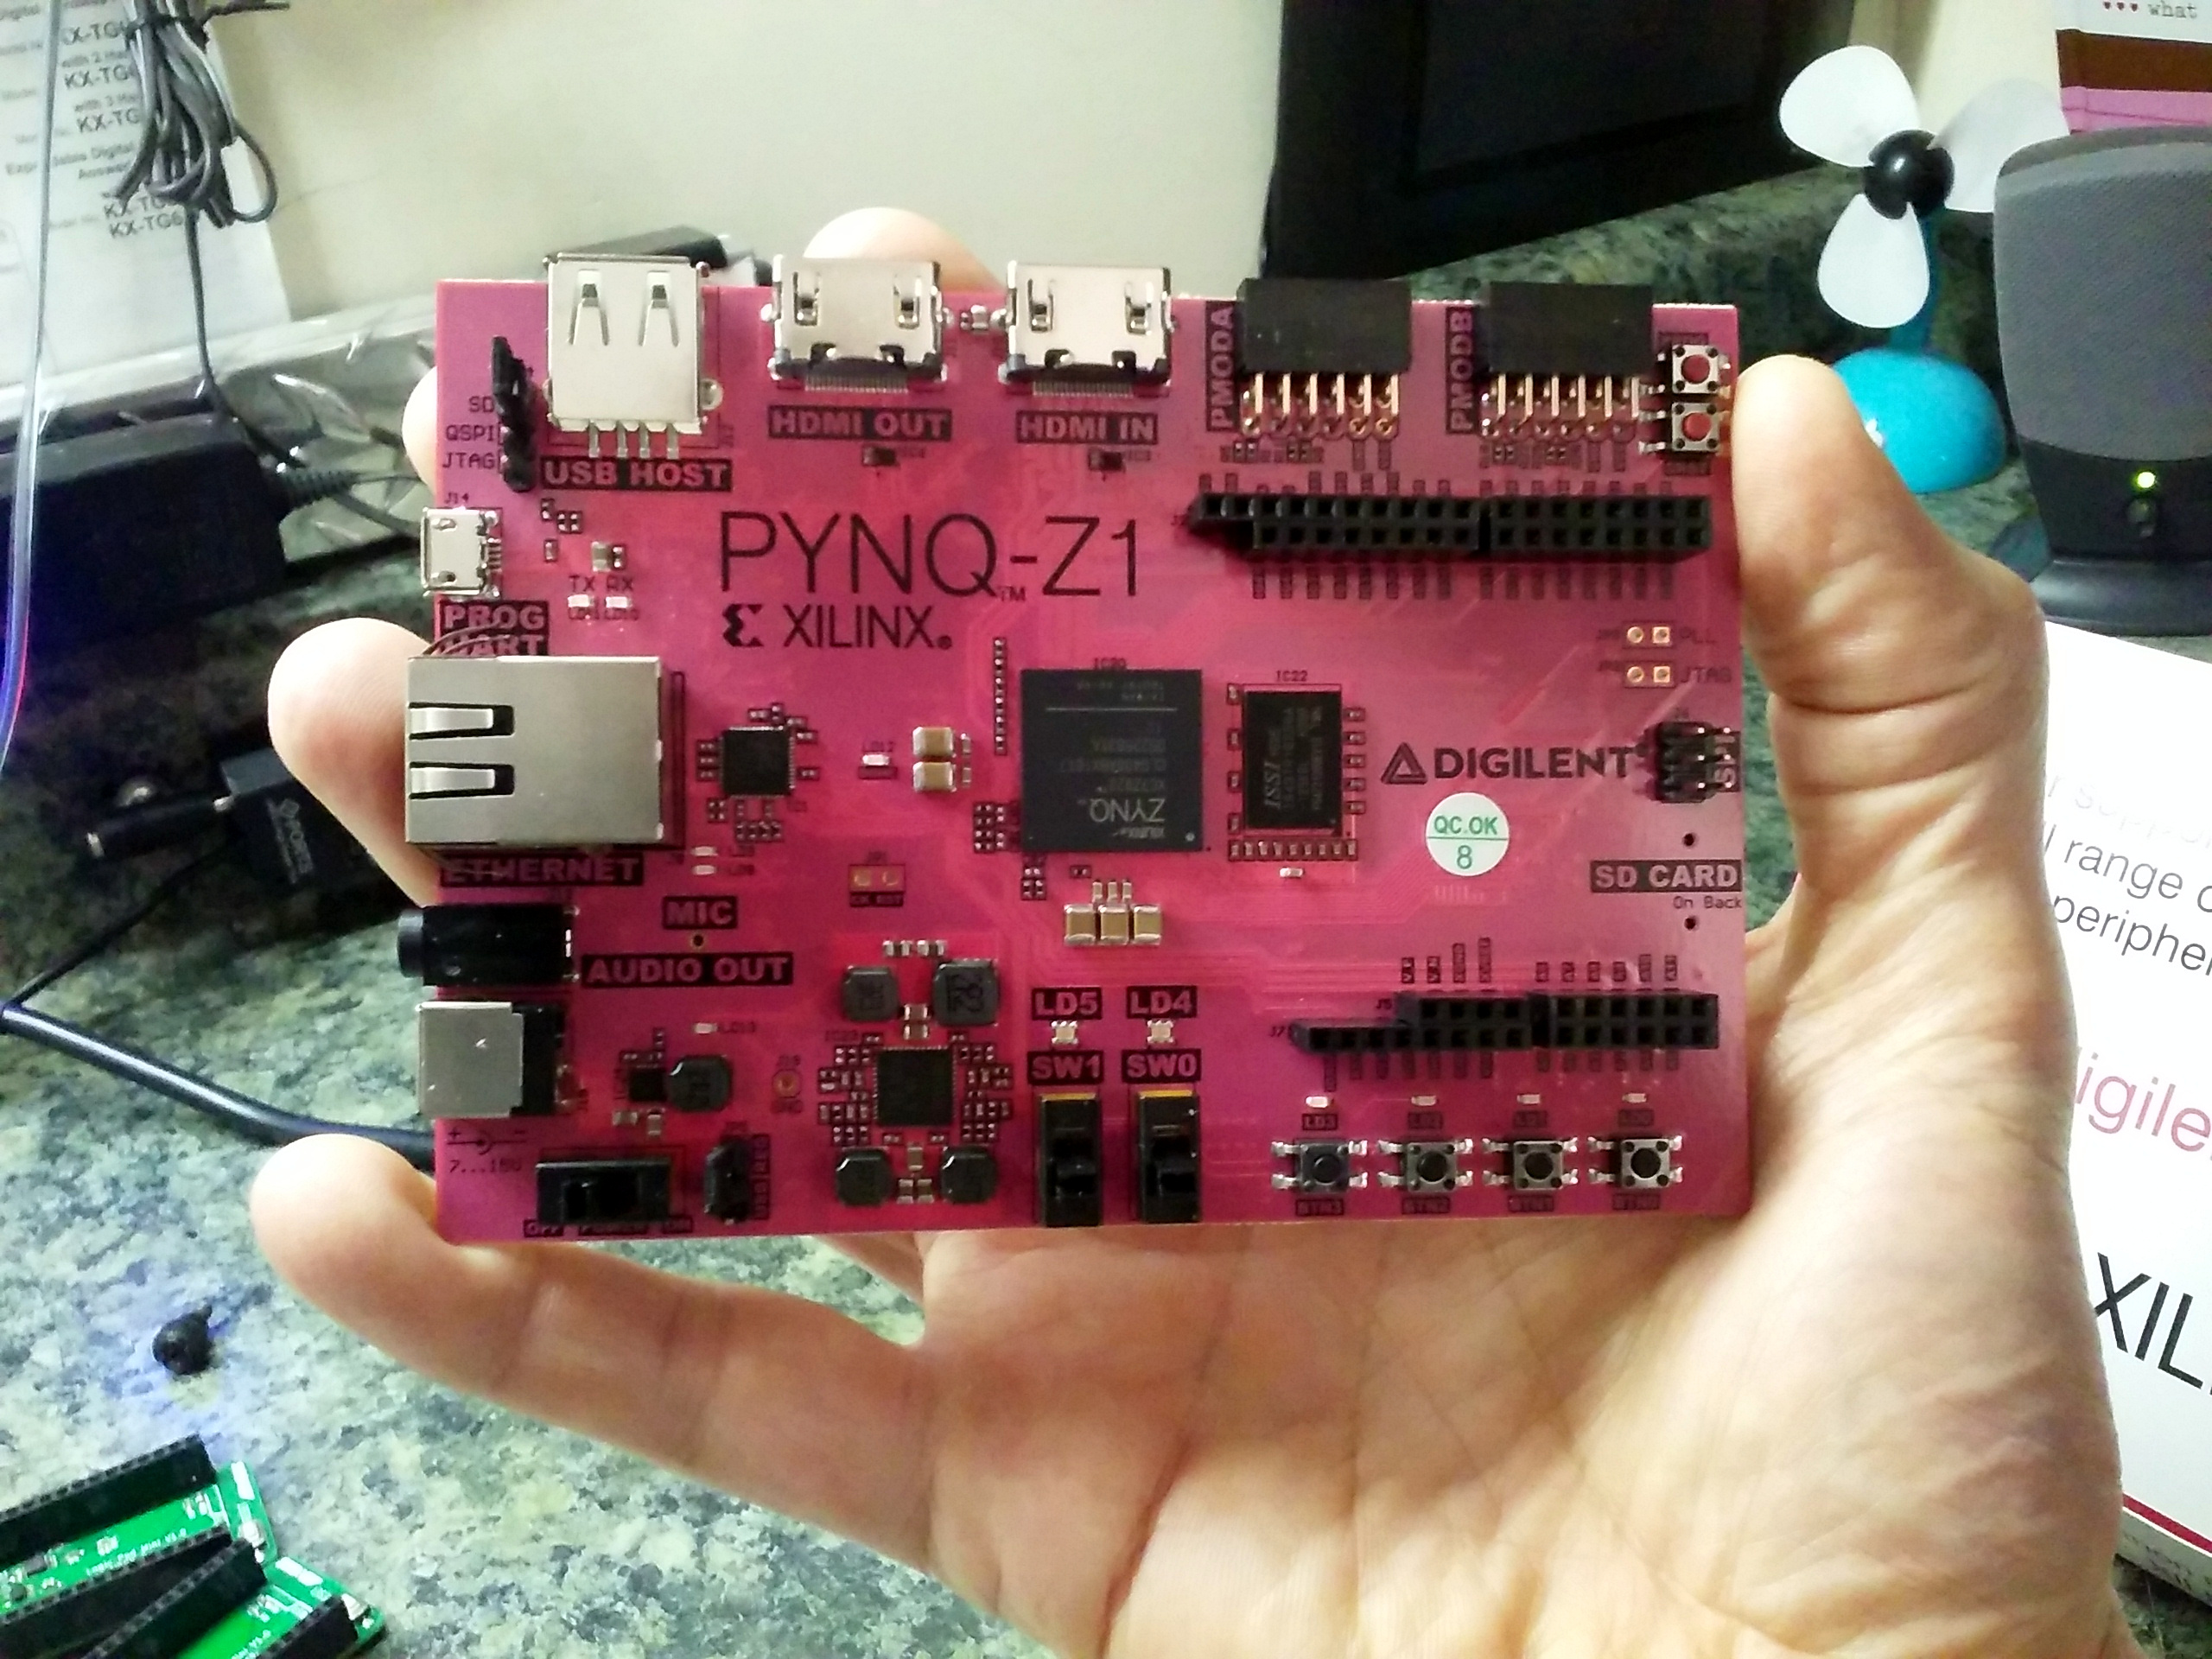
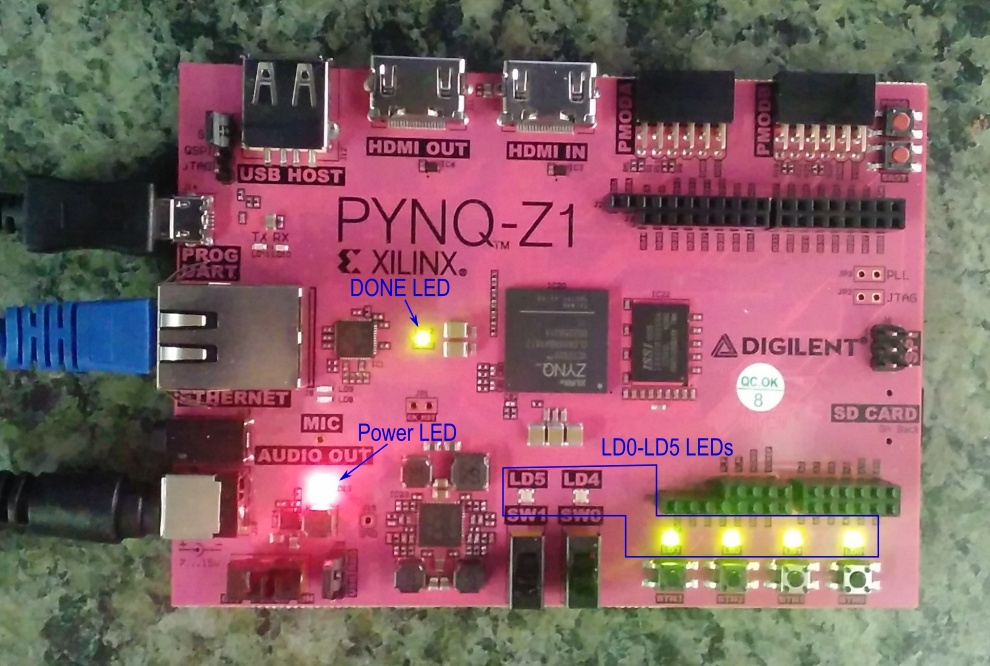
Every blog post has to have at least one picture, so here’s one of the PYNQ-Z1 board I received from Patrick Lysaght of Xilinx.
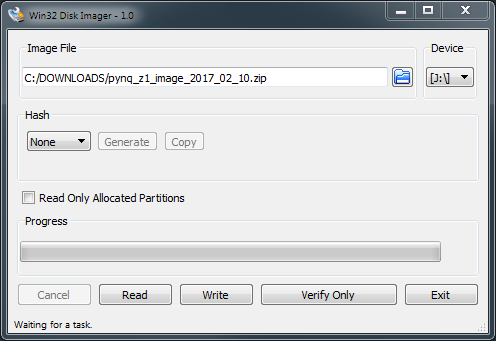
Along with the board, I got a bunch of cables and an 8GB μSD card. It probably contained a preloaded image with the OS and example files but I didn’t even check. I just downloaded the freshest image and reflashed the card using Win32 Disk Imager. (Bonus points if you can see what I did wrong here.)
I inserted the programmed μSD card into the PYNQ and set the JP4 jumper to
the SD setting so the board would boot from it.
Next, I connected an Ethernet cable directly from the PYNQ to my PC and bridged the PC Ethernet adapter to the wireless adapter that accesses the internet.
Then I attached a micro-USB cable from my PC to the PROG UART connector
on the PYNQ.
Last but not least, I attached the supplied 12V / 3.0A power adapter
to the power jack on the PYNQ, set the shunt on the JP5 jumper to the REG
position (the upper two pins), made sure the power switch was in the OFF position,
and plugged the adapter into a wall socket.
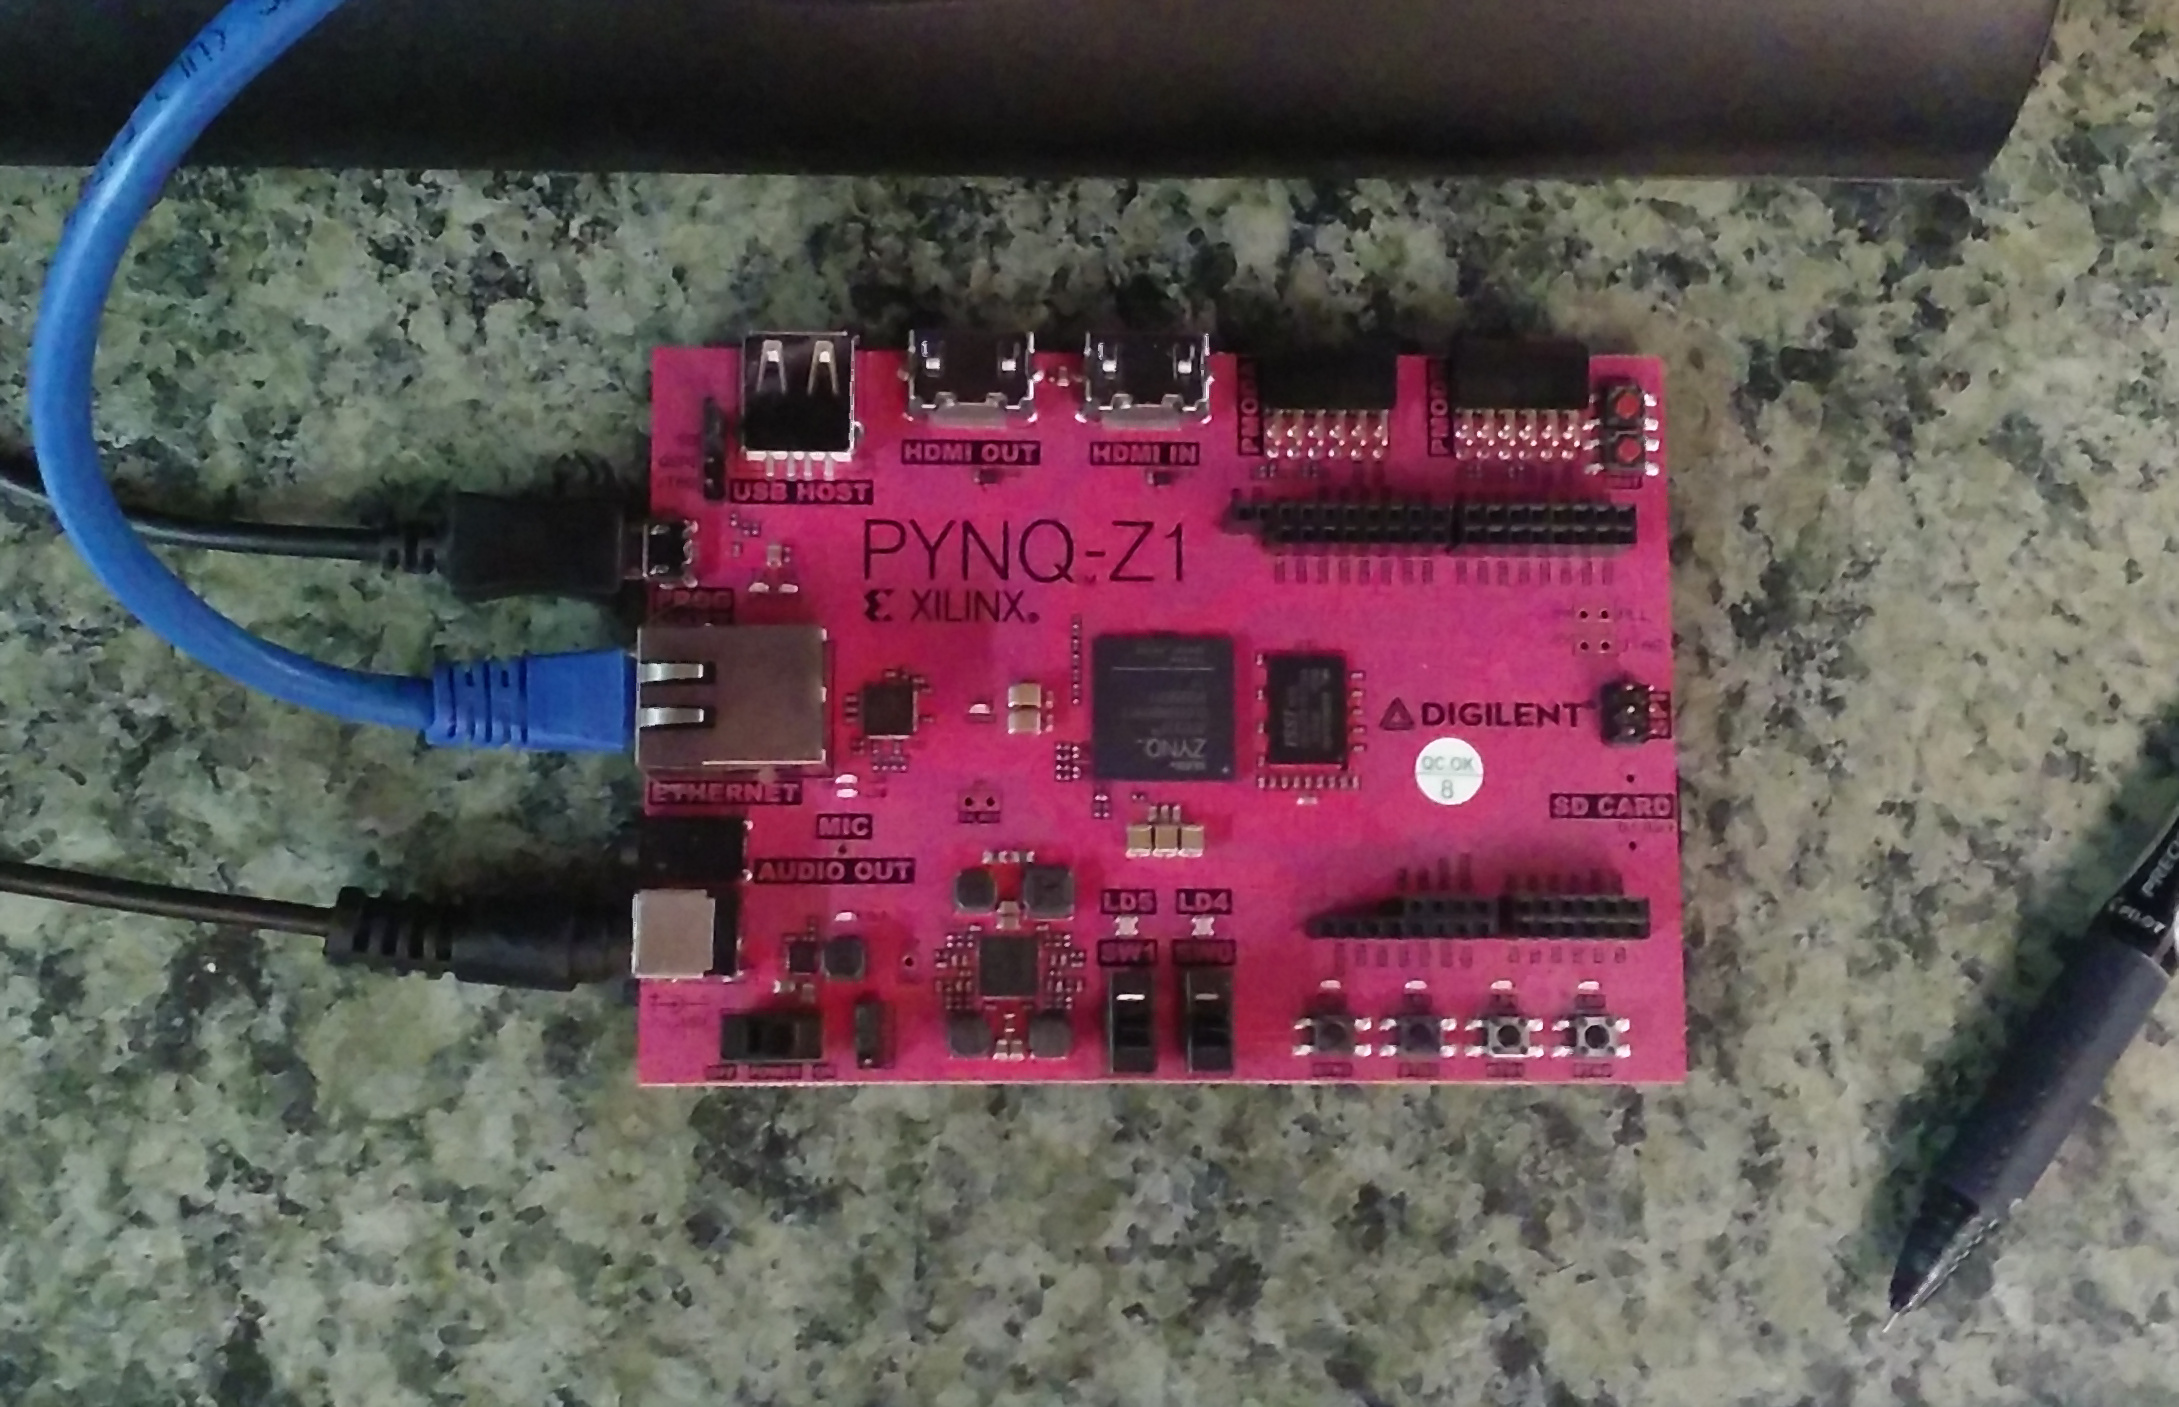
The moment of truth had arrived: I pushed the power switch to the right and … nothing.
The red power LED came on, but the green DONE LED (LED12) midway between the
ZYNQ chip and the Ethernet connector stubbornly stayed off.
That indicated the ZYNQ was not getting configured.
Maybe reflashing that μSD card was a bad idea…
It turned out it was a bad idea.
After checking all the connections and powering the board on and off a few times,
I decided to check how I programmed the μSD card.
If you look at the Win32 Disk Imager screen above, you’ll see I programmed
the card with the ZIP file instead of the .img file it contained!
Doh!
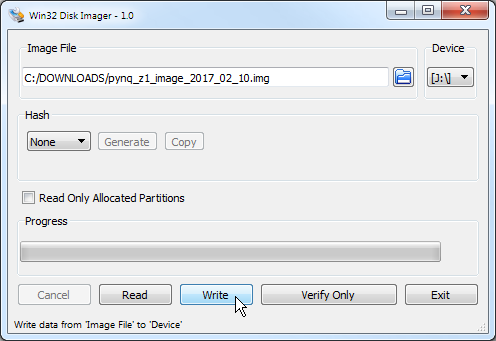
Unpacking the ZIP file and re-reflashing the card with the .img file fixed that error:
After replacing the corrected μSD card in the PYNQ and applying power, the DONE LED
comes on and (after a small delay) the LD0 - LD5 LEDs flash on-and-off eight or nine times.
That means the ZYNQ has configured correctly, booted the OS, and established communications
so it’s ready to talk to me.
Or maybe not:
when I tried to communicate with the board using a browser and either
http://pynq:9090 or http://192.168.2.99:9090 as the address, I got
the dreaded message:
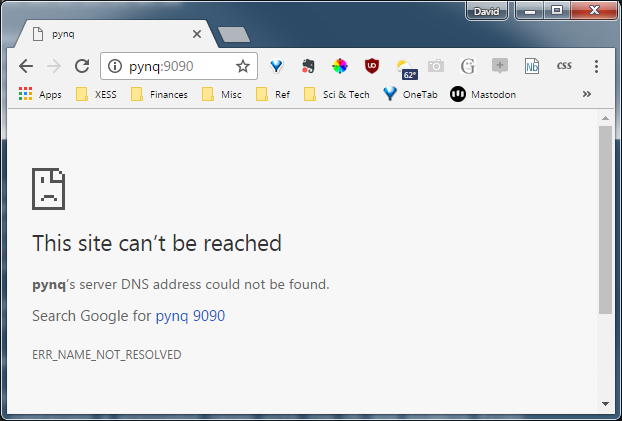
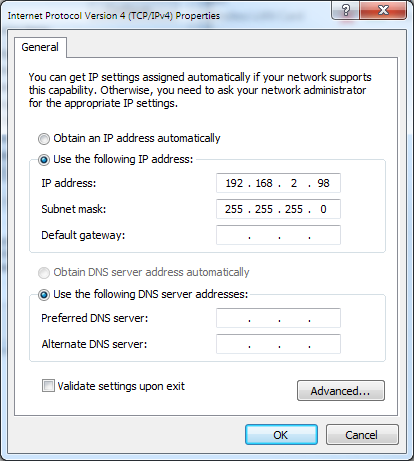
I tried a bunch of variations on the addresses and nothing worked. Eventually it occurred to me that, since I was using a direct connection to the board without an intervening router running DHCP, I needed to adjust the IP address of my PC’s Ethernet port to match the PYNQ’s subnet (192.168.2):
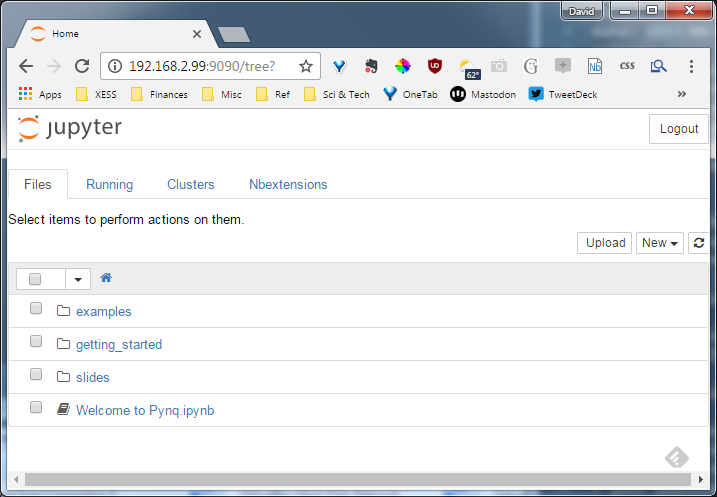
But even that didn’t fix the problem. Finally, I removed the bridge between the PC’s Ethernet port and its wireless adapter. With that, I was able to login using the hard-coded IPV4 address of the PYNQ:
Unfortunately, the PYNQ couldn’t reach the internet in this configuration, and I wanted to be able to easily download new software to it. I went back and tried Internet Connection Sharing (ICS) but it complained it needed to occupy the 192.168.0.1 address and that’s where my wireless router sits. Therefore, I moved the router to the 192.168.1.x subnet and ICS still couldn’t get packets from the PYNQ to the internet and back. So I ditched ICS and tried to go old school and modify the routing tables on my PC and wireless router (without much success). Then I moved my entire network to the 192.168.2.x subnet to match up with the subnet used by the PYNQ. That actually worked, but it seemed like a pretty janky setup that might cause other problems down the road.
Admitting defeat, I dug out an old travel WiFi router, configured it as a client-mode device, and used it to connect the PYNQ to my wireless network. Then all my devices could see it and the PYNQ could get onto the internet. I could also remove the direct Ethernet connection and pack everything into a small space with short cords I’d be less likely to snag:
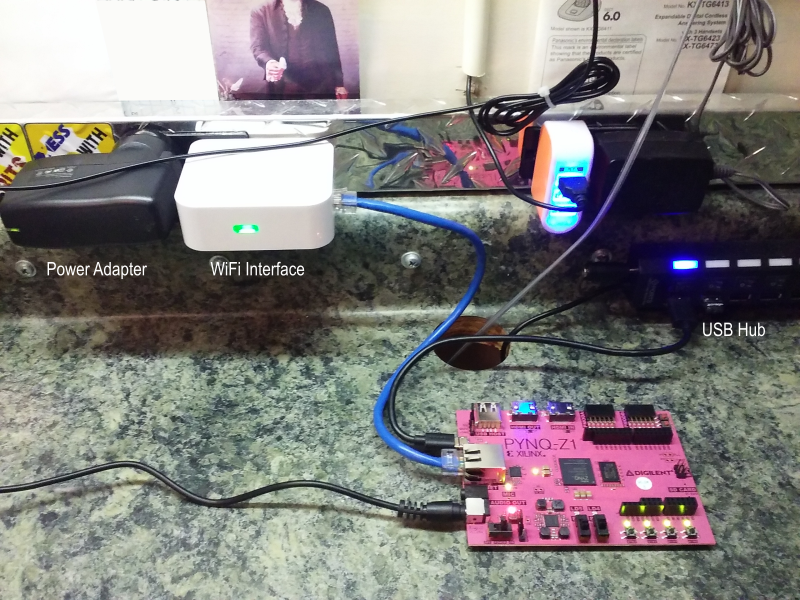
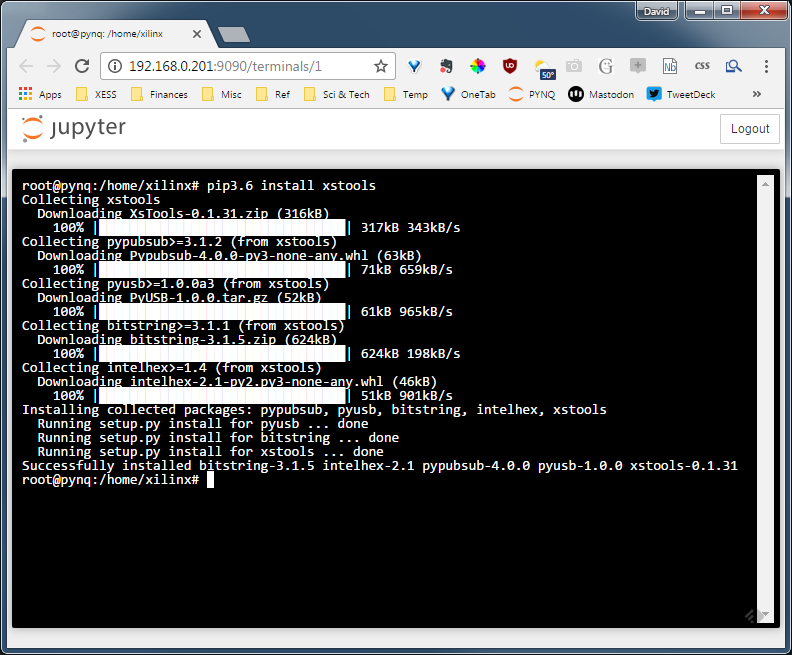
With this arrangement, the PYNQ is accessible from anywhere within reach of my WiFi and I can download things like new Python modules for it from the internet:
Now it’s on to the serious play of making the PYNQ do stuff.

